


Setting up Google Analytics 4 (GA4) correctly ensures you capture accurate, actionable data from your website or app. In the context of GA4 vs Universal Analytics setup, GA4 introduces a new event-driven model and requires a different configuration approach.
This checklist will guide you through the essential steps to implement GA4 properly—from basic setup to advanced tracking—so you can confidently start making data-driven decisions.
1. Pre-Setup Preparation
Before diving into the setup process, getting your groundwork in place is essential. Proper preparation ensures a smoother transition to GA4 and minimizes the risk of misconfiguration. Here are the key things you should check off your Google Analytics 4 checklist before starting:
1. Access to Your Website’s Backend
To install the GA4 tracking setup code, you’ll need access to your website’s backend. This could be:
- A Content Management System (CMS) like WordPress, Shopify, or Wix
- The raw HTML or codebase of your website
- Google Tag Manager (GTM), if you plan to deploy tags via GTM
2. Google Account with Admin Access
You’ll need a Google account with administrative access to both:
- The Google Analytics account (or the ability to create a new one)
- Google Tag Manager, if you plan to use GTM for installation
If you're setting up GA4 for a client or an organization, verify that your account has the necessary permissions to create and manage properties.
3. Choose Between GTM and Manual Installation
Decide early whether you’ll:
- Use Google Tag Manager (GTM): Ideal for users who want more control and flexibility in managing tags without touching website code.
- Install GA4 manually: Recommended if you prefer a lightweight setup and are comfortable editing website code.
4. Document Your Current Analytics Setup (for UA Migrations)
If you're migrating from Universal Analytics (UA), take the time to document:
- Your current goals, events, and conversions
- Any custom dimensions or metrics
- Your audience definitions and filters
- Historical reporting needs
This documentation will act as a GA4 implementation guide, helping you replicate or reimagine these configurations in GA4, and prevent the loss of critical tracking elements during the transition.
2. Create a Google Analytics 4 Property
You'll need to create a new property to track your website data in Google Analytics 4 (GA4). Know how to set up GA4 step by step by creating a GA4 property:
1. Go to analytics.google.com
Sign in with your Google account. Make sure you're using the account associated with your website or organization.
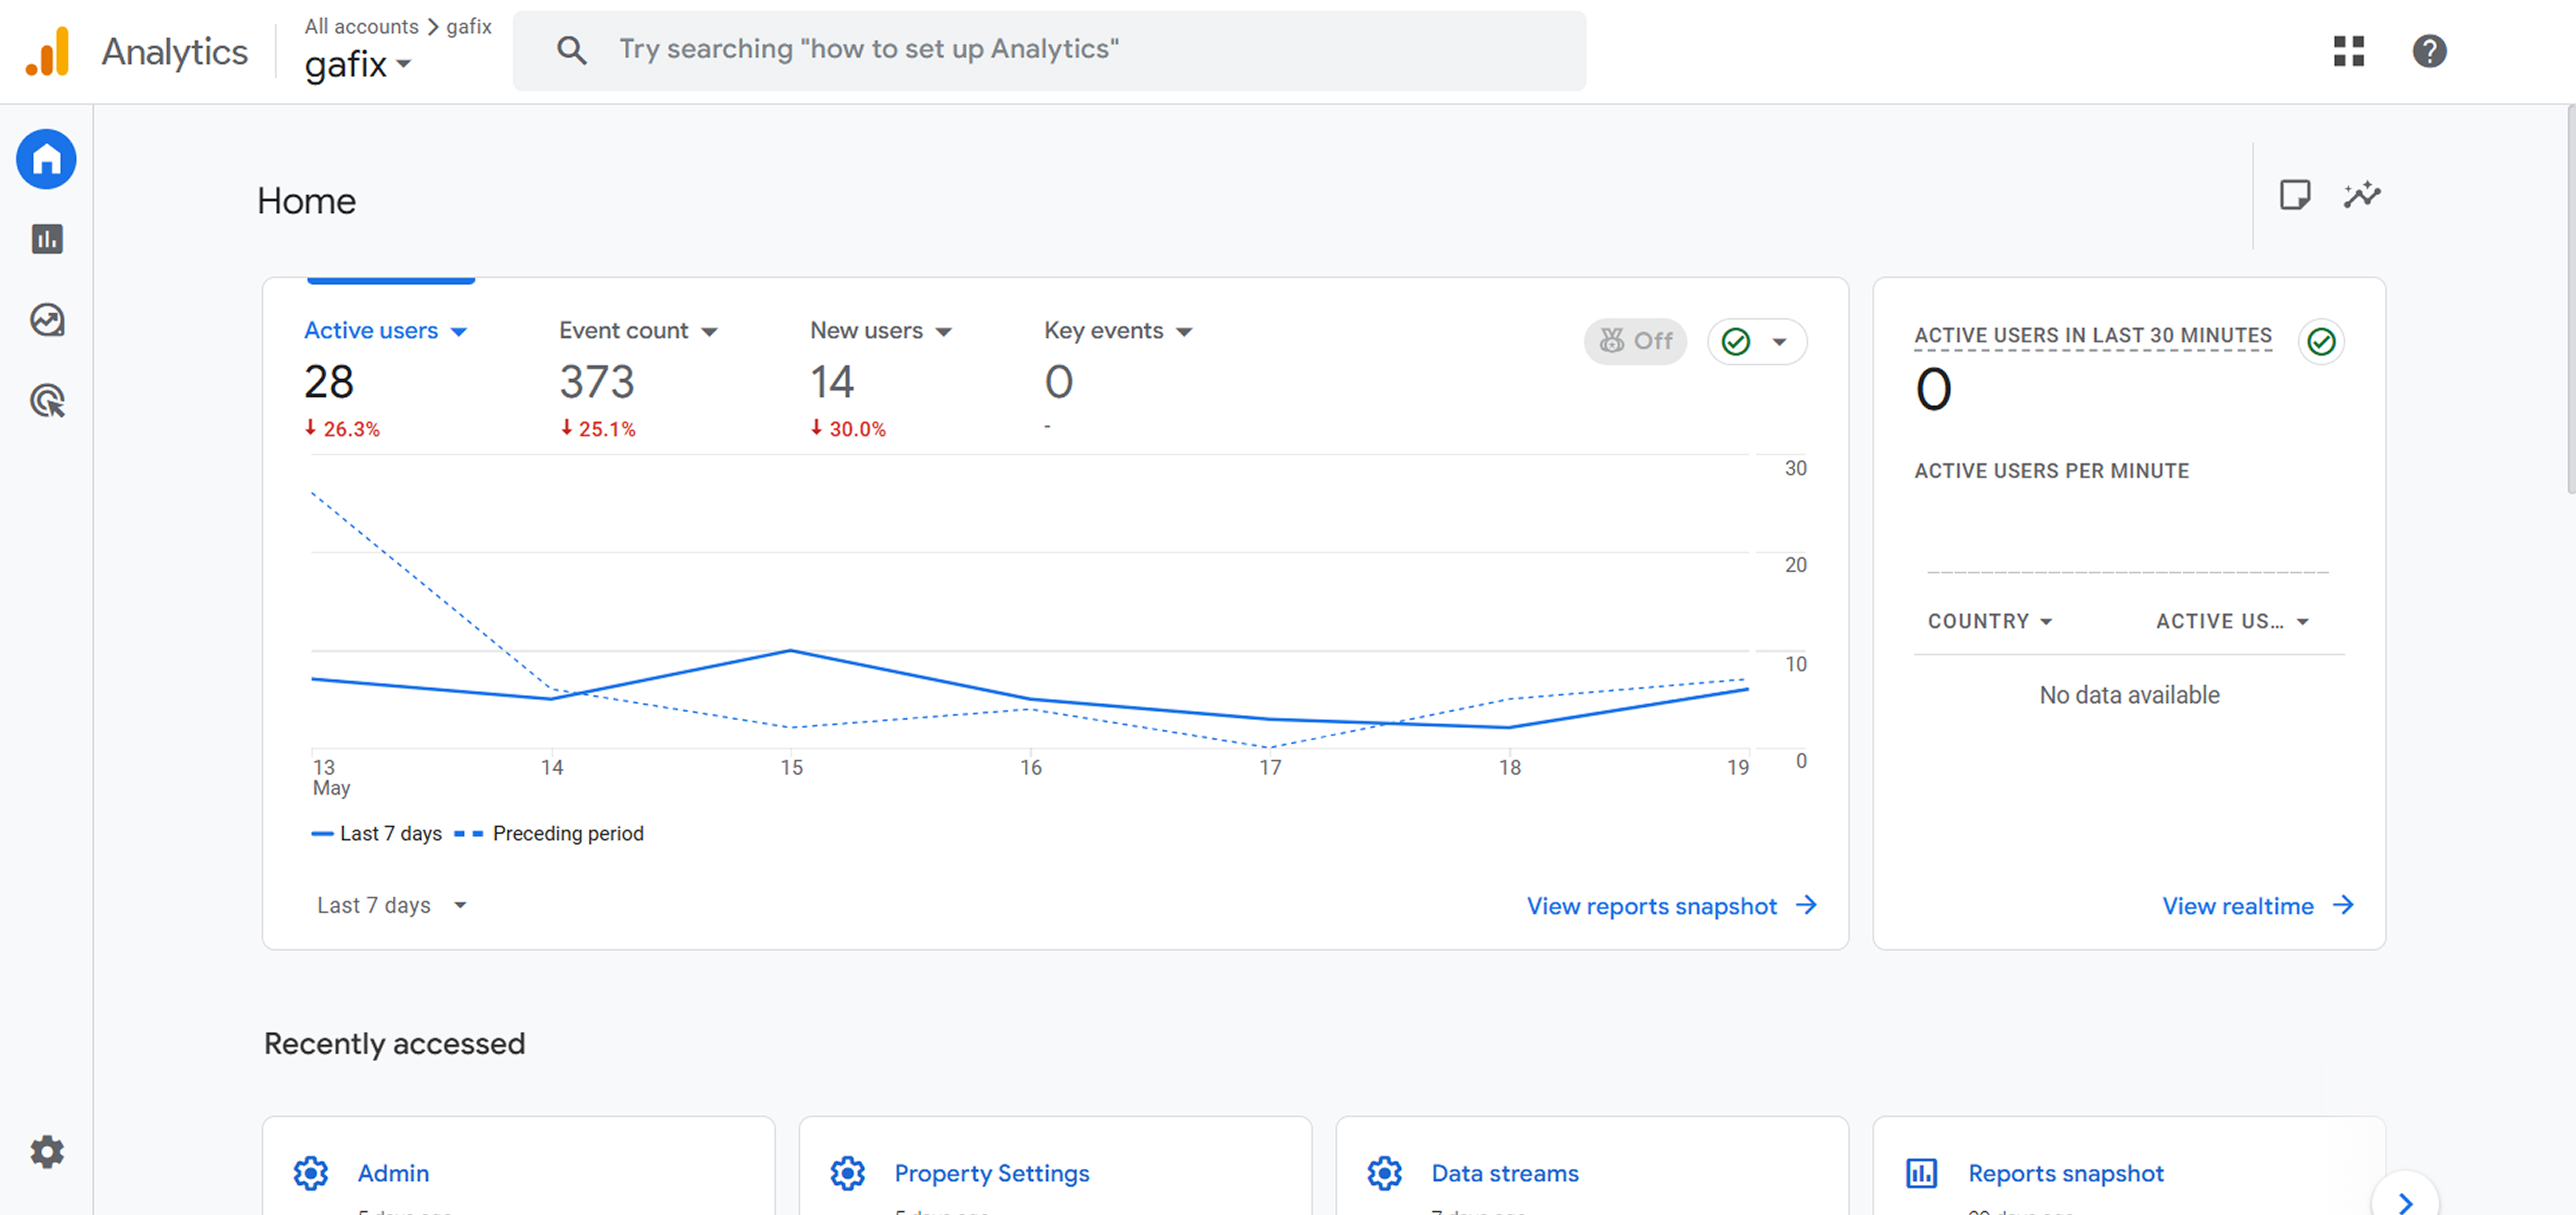
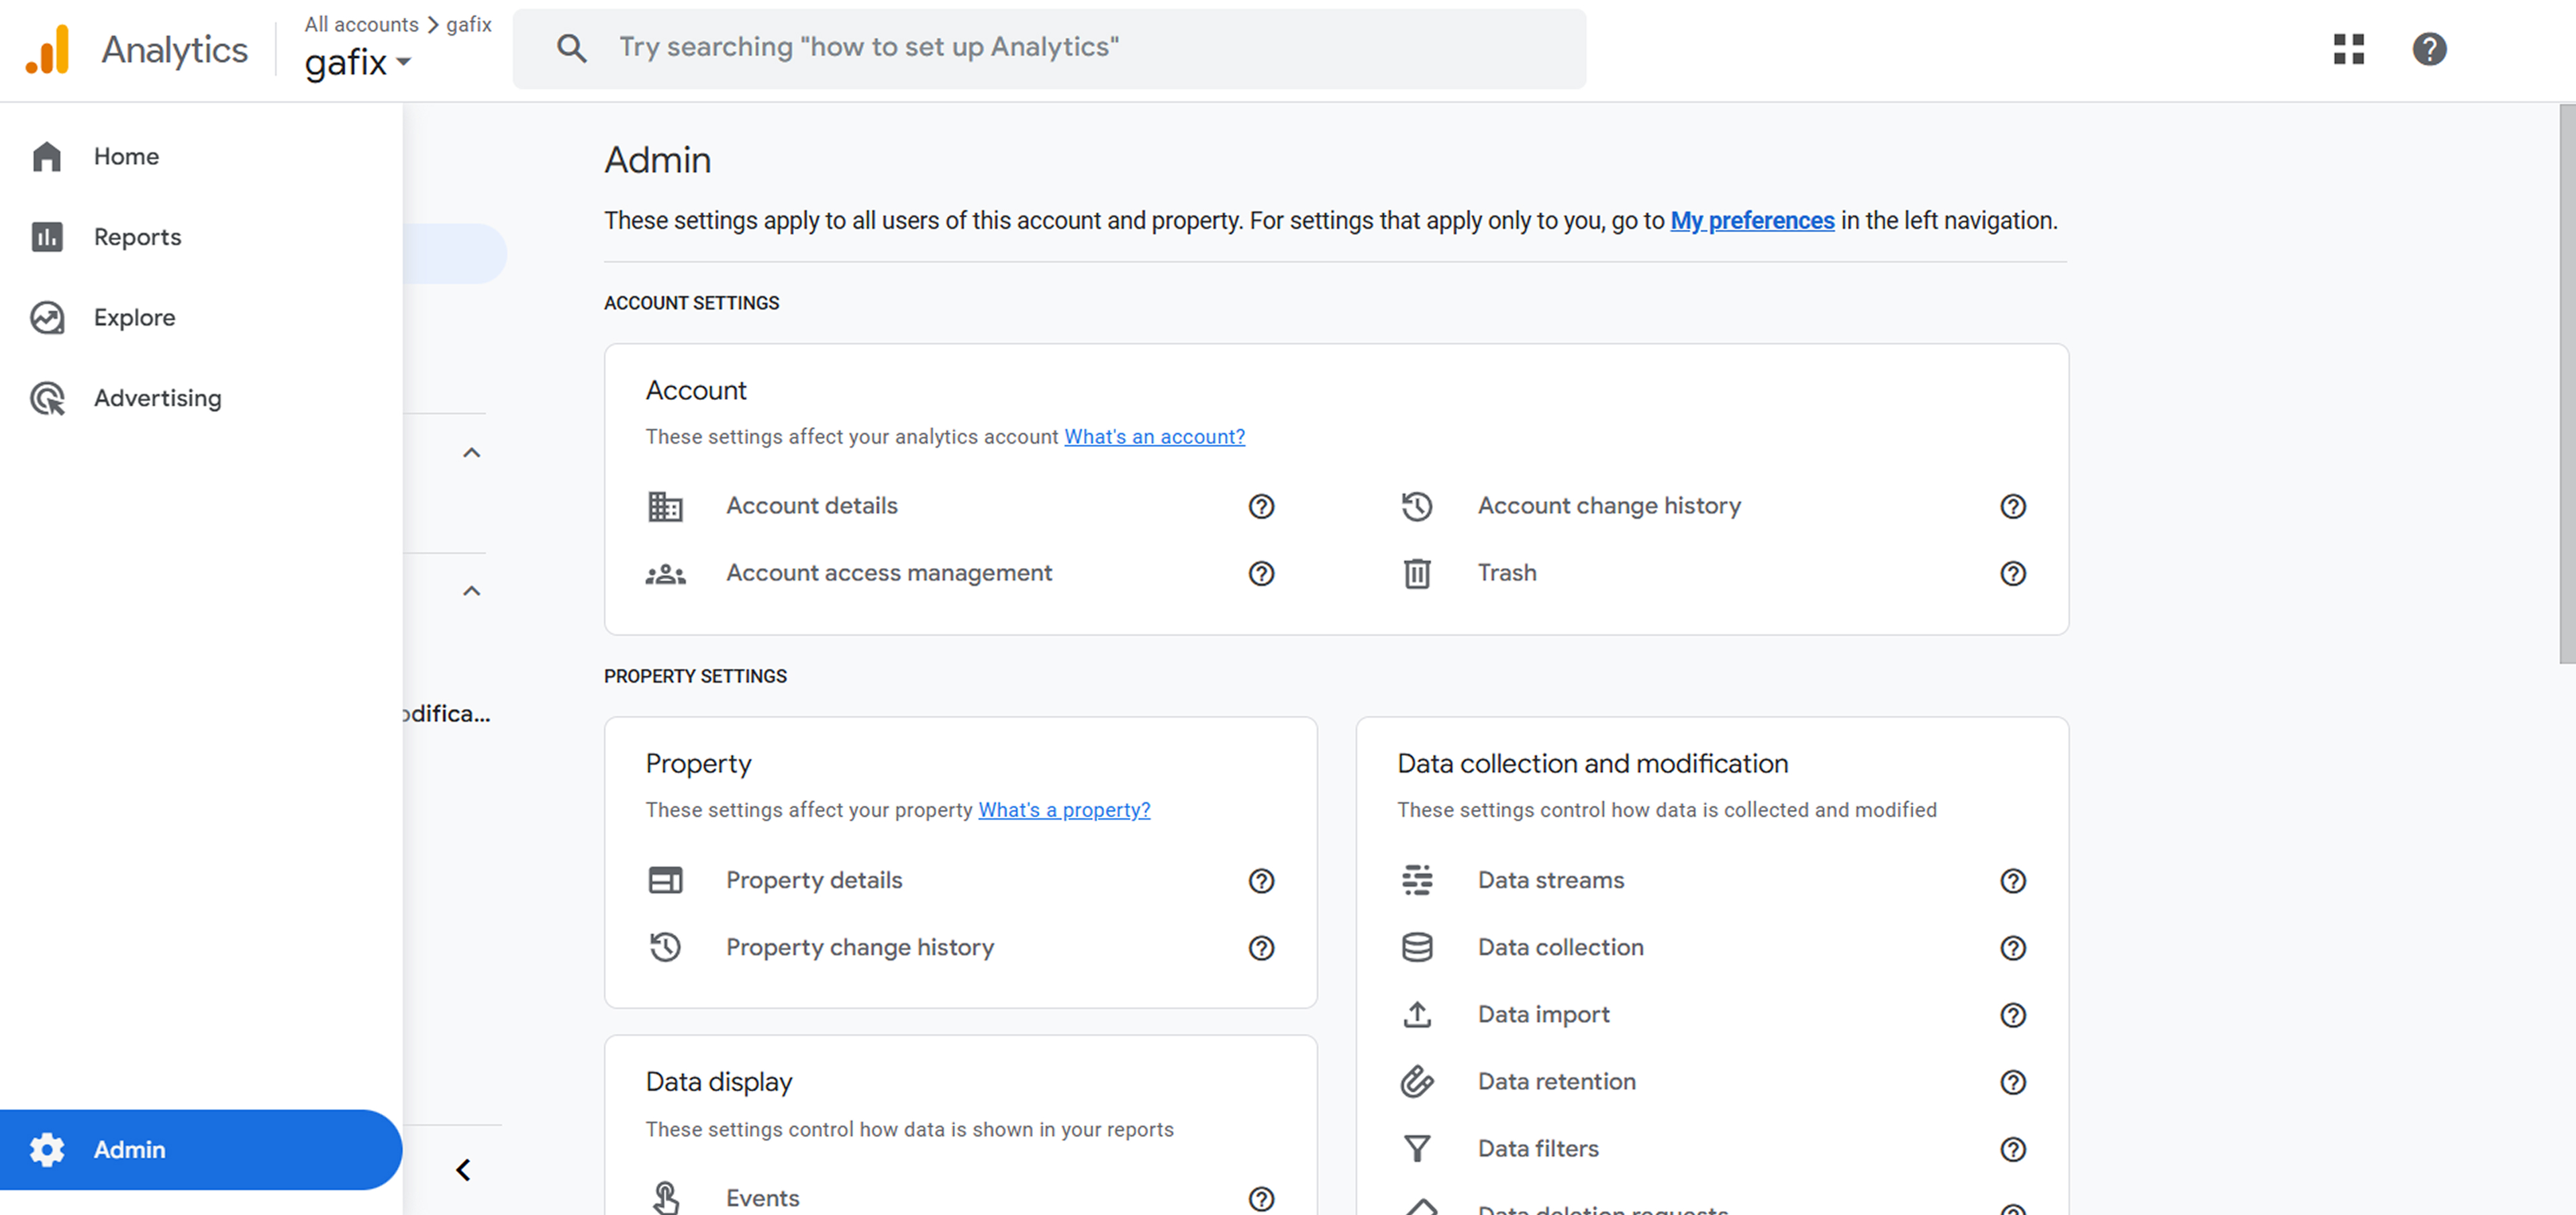
2. Click “Admin” in the bottom-left corner.
You’ll see three columns in the Admin panel: Account, Property, and View. Under the Property column, click Create Property.
3. Enter Basic Property Details
- Property Name: Choose a name that identifies your website or app.
- Reporting Time Zone: Select the time zone relevant to your business for accurate daily reporting.
- Currency: Choose the currency you want your revenue and financial data to be displayed.

4. Click “Next” and enter your business details
Select your industry category and business size, and indicate how you intend to use Google Analytics (e.g., to measure engagement, optimize ad performance, etc.). This helps Google tailor recommendations and reports for you.

5. Click “Create”
Accept the terms of service to finalize property creation. Once done, you’ll be taken to the setup screen where you can configure data streams to start collecting data.
Completing these steps will make your GA4 property ready. You can then set up your data streams to track website or app activity.
3. Set Up a Data Stream
Once your GA4 property is created, the next crucial step is setting up a data stream—this is how Google Analytics begins collecting data from your website or app.
1. Choose Web (or App/Web for Hybrid)
When prompted to select a data stream type, choose "Web" if you're tracking a website. If you're working with a mobile app and a website, use the "App + Web" option to consolidate your data into one unified property.
2. Enter Your Website URL and Name the Stream
Next, input your website’s URL (e.g., https://www.example.com) and give your data stream a recognizable name like “Main Website” or “Marketing Site.” This helps you manage multiple streams if you track more than one domain or app.
3. Enable or Disable Enhanced Measurement Features
Google Analytics 4 offers Enhanced Measurement, which automatically tracks everyday interactions like:
- Page views
- Scrolls
- Outbound link clicks
- Site search
- Video engagement
- File downloads
4. Copy Your Measurement ID (G-XXXXXXX)
Once your stream is set up, you’ll see a Measurement ID that looks like G-XXXXXXXXX. This unique identifier is essential for linking your website to GA4. You’ll need to add it to your site—either directly in your code, via a CMS like WordPress, or through a tag management tool like Google Tag Manager.
4. Install GA4 Tracking Code
Once you've created your GA4 property, the next step is to install the tracking code on your website. There are two main ways to do this: using Google Tag Manager (recommended for easier management) or installing the tracking code manually.
Option A: Using Google Tag Manager (Recommended)
If you're already using Google Tag Manager (GTM), setting up GA4 is quick and efficient. Here's how GA4 implementation with GTM can be done:
1. Log in to GTM
Head over to tagmanager.google.com and open the container linked to your website.

2. Create a New GA4 Configuration Tag

- Click on "Tags" in the left menu.
- Click "New" and choose "Tag Configuration".
- Select " Google Analytics" and then select "Google Tag"
3. Paste Your Measurement ID

- Get your Measurement ID from your GA4 property (in Admin → Data Streams → Web).
- Paste it into the Measurement ID field in GTM.
4. Set Trigger to All Pages

- Click on “Triggering” and choose “All Pages” so the tag fires on every page load.
5. Publish Your Container

- Click “Submit” in the top right, then “Publish” to push your new tag live to your site.
This method keeps your site code clean and makes managing future tracking changes easier.
Option B: Manual Code Installation
If you're not using GTM, you can add the GA4 tracking code directly to your site’s HTML.

1. Copy the gtag.js Script
- In your GA4 property, go to Admin → Data Streams → Web, and select your data stream.
- Copy the provided gtag.js script under the “Tagging Instructions.”
2. Paste It into the <head> of Your Website
- Open your site’s HTML files or use a header plugin if you're using a CMS like WordPress.
- Paste the script directly into the <head> section of your site.
3. Save and Publish
- Save the changes and publish your site to make the tracking live.
5. Set Up Conversions (Goals)
Tracking conversions is crucial to understanding whether your website meets its business objectives. In GA4, conversions are tied to events, and setting them up correctly ensures you’re measuring what truly matters. Here's how to do it:
1. Identify Key Actions
Start by defining what a "conversion" means for your business. Common examples include:
- Form Submissions – Contact forms, lead generation forms, etc.
- Purchases – Transactions completed in your eCommerce store.
- Signups – Account creation, newsletter subscriptions, or trial registrations.
2. Create Custom Events (if needed)
If GA4 doesn't automatically track the action you're interested in, you can create a custom event:
- Go to Admin > Events > Create Event.
- Click Create and define the new event using existing parameters (e.g., page_view, click, form_submit).
- Give your event a meaningful name like form_submission or trial_signup.
This allows you to tailor your analytics setup to your unique business goals and setup event tracking
3. Mark Events as Conversions
Once your key events (default or custom) are available in GA4:
- Go to Admin > Conversions.
- Click New Conversion Event.
- Enter the exact event name you want to track as a conversion.
- Save it, and GA4 will count that event as a conversion in your reports.
4. Test Each Event
After setup, it’s critical to confirm that your events are firing correctly:
- Use Realtime reports in GA4 to test actions (e.g., submit a form or complete a purchase).
- Check if the expected event appears immediately.
- If not, revisit your tag settings (via Google Tag Manager or site code) to troubleshoot.
6. Link Google Products
To unlock Google Analytics 4's (GA4) full potential, it’s essential to link it with other Google products. This integration lets you gain deeper insights, track performance more accurately, and drive more thoughtful platform decision-making.
1. Link Google Ads (If Applicable)
If you're running paid campaigns on Google Ads, linking it with GA4 is crucial. This allows you to:
- Track user behavior post-click to see how ad traffic engages with your site.
- Create audiences in GA4 and share them with Google Ads for better targeting.
- Analyze ad performance in the context of broader user journeys.
How to link:
In GA4, go to Admin > Product Links > Google Ads, then follow the prompts to select your account and enable data sharing.
2. Link Google Search Console
By linking Search Console with GA4, you can access valuable organic search insights directly within your analytics dashboard. This includes:
- Queries that drive traffic to your site.
- Landing pages that perform best in organic search.
- Click-through rates, impressions, and average positions in search results.
How to link:
Navigate to Admin > Product Links > Search Console. Choose the verified Search Console property associated with your website and complete the setup.
3. (Optional) Link BigQuery for Advanced Analysis
For advanced users, BigQuery integration allows raw GA4 data export. This is especially useful for:
- Running complex queries on unsampled data.
- Joining GA4 data with other business datasets.
- Creating advanced data models and dashboards.
How to link:
In the GA4 Admin panel, go to BigQuery Links, and configure your project and dataset. Export can be scheduled daily or streamed continuously.
4. Enable Cross-Domain Tracking
If your user journey spans multiple domains or subdomains (e.g., example.com and shop.example.com), enabling cross-domain tracking ensures accurate session stitching and prevents inflated user counts.
How to set it up:
- Go to Admin > Data Streams > Web, then under “More Tagging Settings,” select Configure your domains.
- Add all domains/subdomains involved in your user journey to track users seamlessly across them.
7. Set Up Custom Reports
Once the foundational tracking is in place, it's time to dive deeper with custom reports that help you uncover insights specific to your business goals.
1. Use the Explore Section for Advanced Analysis
GA4’s Explore section is where custom reporting truly shines. This area allows you to go beyond standard reports and build custom funnel or path explorations that reflect how users move through your website or app.
2. Add Custom Dimensions or Metrics
GA4 allows you to create custom dimensions or metrics if the default ones don’t capture the nuances of your data. For instance, you might want to track:
- A specific button click labeled as "Signup Click"
- A custom metric for user engagement, like "Scroll Depth %"
3. Optional: Set Up a Looker Studio Dashboard
For an even more flexible and visual reporting experience, consider setting up a Looker Studio (formerly Google Data Studio) dashboard. Looker Studio lets you:
- Connect GA4 and visualize data with custom charts, filters, and tables.
- Blend data from multiple sources (e.g., GA4 + Google Ads + CRM).
- Share real-time dashboards with stakeholders.
8. Test & Verify
This step helps you catch any issues early and confirm that your data is accurate and actionable. Here's how to test and verify your GA4 implementation:
1. Use DebugView in GA4 to Test Events in Real Time
GA4’s DebugView is a powerful tool that lets you see events on your site. To use it, enable debug mode in your browser using a Chrome extension like Google Tag Assistant or adding a debug parameter to your GTM preview. Then, navigate to Admin > DebugView in your GA4 property.
2. Use Google Tag Assistant to Verify Tag Installation
Before diving deep into event validation, ensure your GA4 tag is installed correctly. Use the Google Tag Assistant (Legacy) Chrome extension or the Tag Assistant within Google Tag Manager Preview mode to check if your tags are firing on the intended pages. These tools can help detect misconfigurations, duplicate tags, or missing tags, which can lead to data discrepancies.
3. Confirm That Key Events and Conversions Are Tracked
Once your tags are firing and events are being sent, it's time to ensure your key events and conversions are being tracked. Review the events listed in Admin > Events and check that important actions—like form submissions, purchases, button clicks, or scroll depth—are being captured.
9. Documentation & Backup
Whether you're managing Google Analytics, Tag Manager, or any other tracking tool, staying organized can save you from costly errors and time-consuming troubleshooting GA4 setup. Here are key practices to ensure your setup is well-documented and securely backed up:
1. Record Property Settings and Configuration
Always keep a detailed record of your analytics property settings, including data streams, filters, attribution settings, and data retention policies. Documenting these configurations allows for easier troubleshooting, quicker onboarding for new team members, and smoother transitions during migrations or audits.
2. Maintain a Log of All Custom Events and Tags
Create and routinely update a centralized log that lists all custom events, conversions, and tags deployed through your analytics tools. This log should include:
- Event names and parameters
- Trigger conditions
- Associated pages or user actions
- The purpose or business goal of each event/tag
3. Note Admin Access and Any Changes Made
Track who has administrative access to your analytics platforms and a changelog of any significant edits made, such as updates to tracking settings, tag configurations, or permissions. This transparency minimizes the risk of unauthorized changes, facilitates accountability, and makes it easier to roll back changes if issues arise.
10. Ongoing Maintenance
Here are the key practices you should follow:
1. Regularly Review Reports for Accuracy
Periodically checking your reports ensures the data you're seeing truly reflects user behavior and business performance. Look out for anomalies like sudden drops in traffic, missing events, or unexplained spikes. These may indicate issues such as broken tags, tracking code errors, or changes in website structure. Accurate reports are essential for making informed decisions—don’t let mistakes go unnoticed.
2. Audit GA4 and GTM Quarterly
A quarterly audit helps catch issues before they impact long-term tracking. Review your GA4 property settings, data streams, event configurations, and conversion goals. In GTM, validate all triggers, tags, and variables to ensure they are firing as expected. Remove outdated tags and check for duplicate tracking to maintain clean and reliable data.
3. Stay Updated with New GA4 Features and Updates
GA4 is evolving rapidly, with Google continuously releasing new features and improvements. Staying informed about these updates allows you to leverage new capabilities, such as enhanced reporting options, predictive metrics, or better integration features. Gafix.ai helps you stay updated about everything related to google analytics.

Frequently Asked Questions
How do I ensure GA4 is tracking correctly?

Use the DebugView in GA4 and the Tag Assistant in GTM to test your implementation. Check that events are firing as expected, conversions are counted, and traffic sources are correctly attributed.
Is Google Tag Manager necessary for GA4 setup?
No, but it’s highly recommended. GTM simplifies tag management, allows quicker updates without developer help, and organizes your tracking setup.
Are there any tools to help with GA4 setup?
Yes, tools like Google's Setup Assistant, Tag Assistant, and third-party auditing tools can help ensure your setup is complete and accurate. A detailed checklist or working with an analytics consultant can also be beneficial.
Confident Decisions Start with Accurate Tracking
Ensure your GA4 and GTM are correctly configured, reliable, and ready for scale.


Subscribe To Our Newsletter


